Categories
In this article
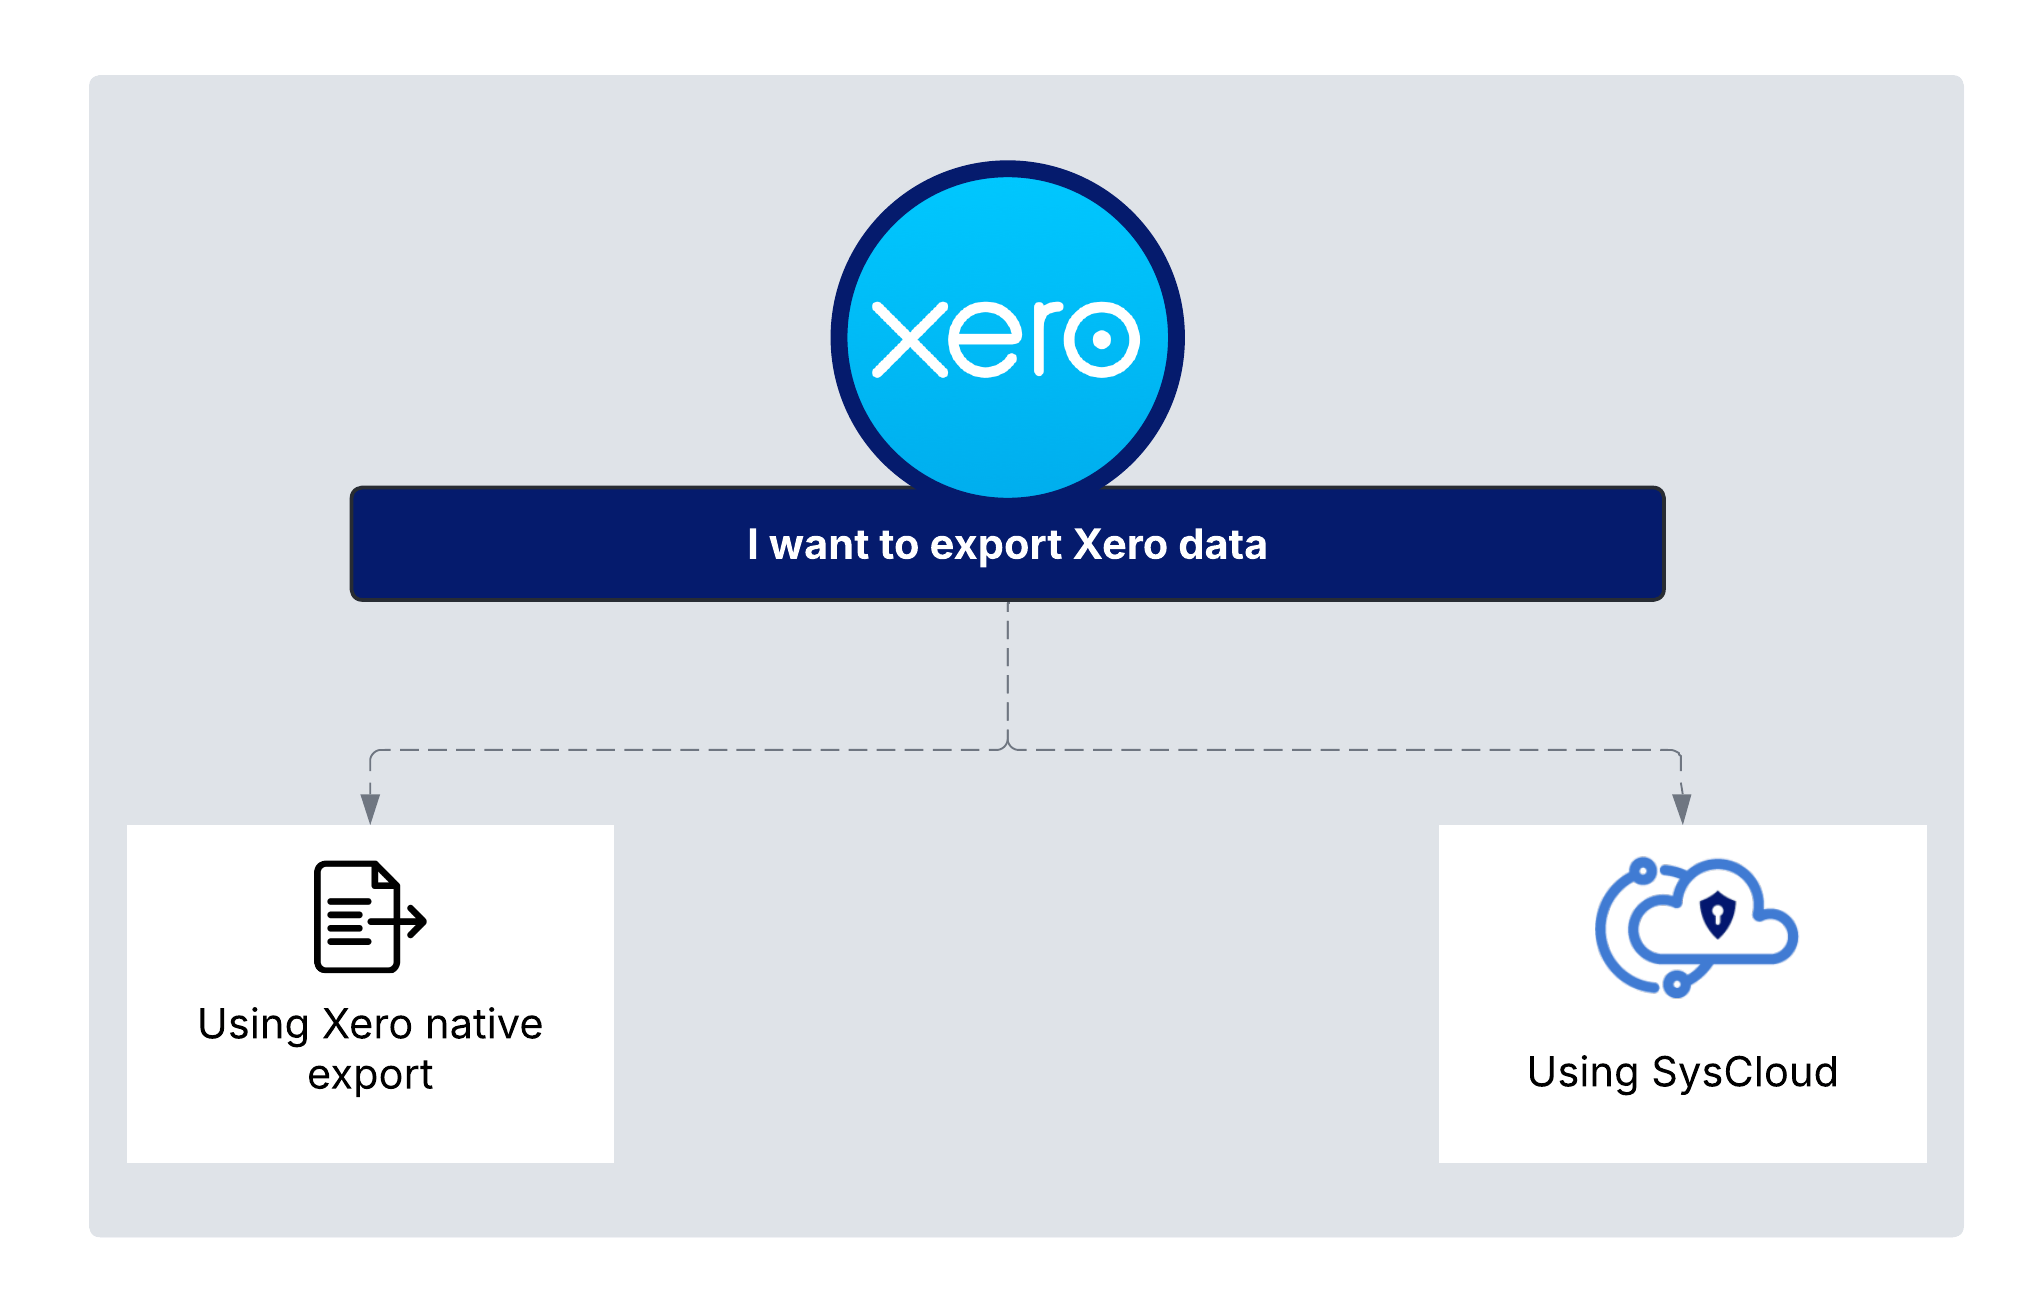
- Export Xero data using the native export tool
- Export using SysCloud
How to Export Xero Data
21 Jun 2024
3 min read
Ahana
Xero is a leading cloud-based accounting software designed to streamline financial tasks and aid businesses of all sizes in managing their finances efficiently. Xero supports over 4.2 million subscribers globally, underscoring its widespread adoption among small and medium-sized businesses

- Export Xero data using the native export tool
- Export using SysCloud
Export using native export tool
Available editions
What type of Xero data can be exported?
| Export file format --> | CSV/XLS | Google Sheets | MYE | Various | TXT | ||||||||
|---|---|---|---|---|---|---|---|---|---|---|---|---|---|
Accounting data | |||||||||||||
Batch payments | |||||||||||||
Budget | |||||||||||||
Show more | |||||||||||||
Who can export data from Xero?
Click here to learn more about the user role for exporting data from Xero.
How to export Xero data to create a local backup
Step 1: Sign in to Xero.
Step 2: Depending on the type of data you want to export, navigate to the relevant section of your Xero dashboard.
Export Accounting data: To export accounting data, go to the accounting section in the navigation bar, select “Advanced,” and click on “Export accounting data.”


Step 3: Select the product or tax authority you want to import into.

Step 4: Select the date range of the data to export.

Step 5: Click Download.

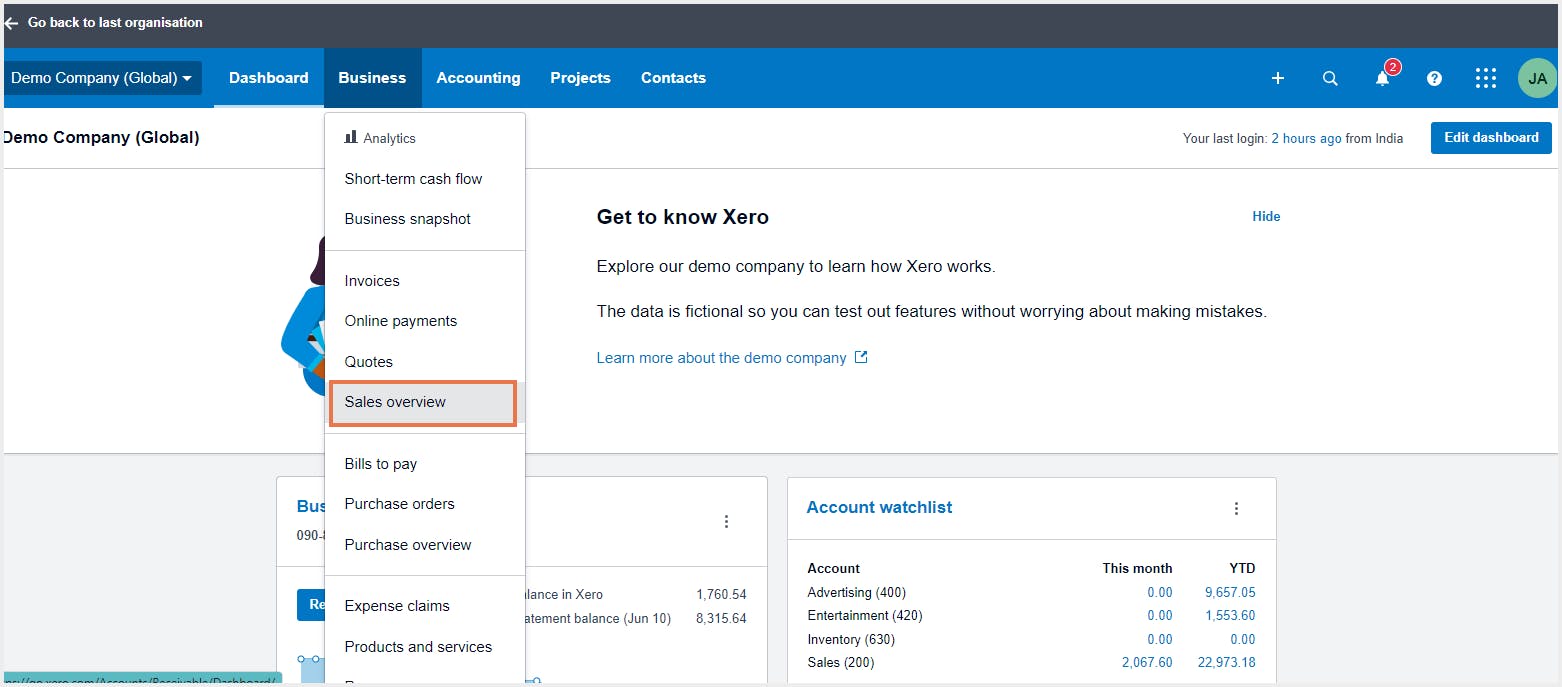
Export invoices: To export invoices, go to the business section in the navigation bar, select “Sales overview” or “Purchases overview.”

Step 3: Select the invoice or bill tab you want to export from, or to export all invoices or bills, click “See all.”
Step 4: Select “Start date,” “End date,” or “Date type.” You can also filter to include transactions with a particular status, such as overdue bills.
Step 5: Click Export

Export bills: To export bills, go to the business section in the navigation bar, select “Bills to pay.”

Step 3: Select the bill tab that you want to export from.
Step 4: Select “Start date,” “End date,” or “Date type.” You can also filter to include transactions with a particular status, such as overdue bills.
Step 5: Next to New Bill, click the menu icon Image showing three vertical dots, then select Export bills.

Step 6: Click Export

Limitations of exporting Xero data using the native export tool
Frequency and automation: Xero exports require manual effort, lacking the automated, scheduled backups traditional solutions offer.
Incomplete data export: Xero does not provide a single feature to export all data at once. You need to export data from individual areas of Xero manually and reports from the reports screen, which can be time-consuming for large volumes of data. Also, admins might leave out important data while exporting which can result in data loss.
User Role Restrictions: The ability to export certain types of data is restricted based on user roles. For example, only users with Adviser or Payroll Admin roles can export specific reports, which may limit the accessibility of data for backup purposes.
Security and compliance: Relying solely on exports may not meet strict regulatory or security requirements for data backup and retention.
Xero data export using SysCloud
- Automate backups and error management tasks
- Identify ransomware files and compliance issues in the Xero data being backed up
Step 1: Log in to SysCloud using your admin credentials.
Step 2: Click Archives and select Xero from the drop-down.

Step 3: Click on the organization you want to export the item(s) from.

Step 4: Click on the Xero item type you want to recover (e.g., Invoices)

Step 5: Choose the required backup snapshot.

Step 6: Select the item(s) you want to export by clicking the checkbox next to the item name and click Export.

Step 7: In the export pop-up, add a comment if you wish to, and click Export.

Get actionable SaaS administration insights
We don’t spam. Unsubscribe anytime.
In this article
- Export Xero data using the native export tool
- Export using SysCloud

